Introduction
After changing the battery in your vehicle, you might notice that the check engine light remains illuminated on your dashboard. This can be frustrating, especially if you expect a straightforward fix after a simple battery replacement. Understanding how to reset the check engine light after battery change is crucial for every car owner, as it ensures you can drive without unnecessary alerts and keep your vehicle running optimally. The check engine light can indicate various issues, but when it appears after changing the battery, it usually concerns the engine management system’s recalibration. In this comprehensive guide, we will delve into the reasons behind the check engine light activation, the methods to reset it, and troubleshooting tips for specific vehicle models. By the end of this article, you will not only know how to reset the light but also understand the implications of the check engine warning in relation to your car’s overall health.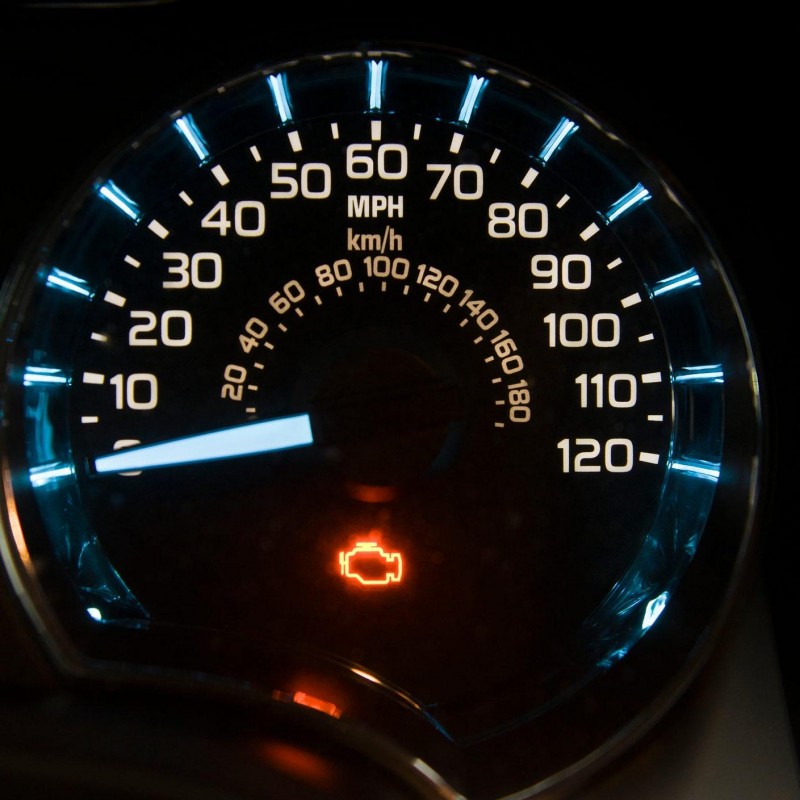
Understanding the Check Engine Light
To effectively address the issue of resetting the check engine light, it’s essential to first understand what this light signifies.
What Is the Check Engine Light?
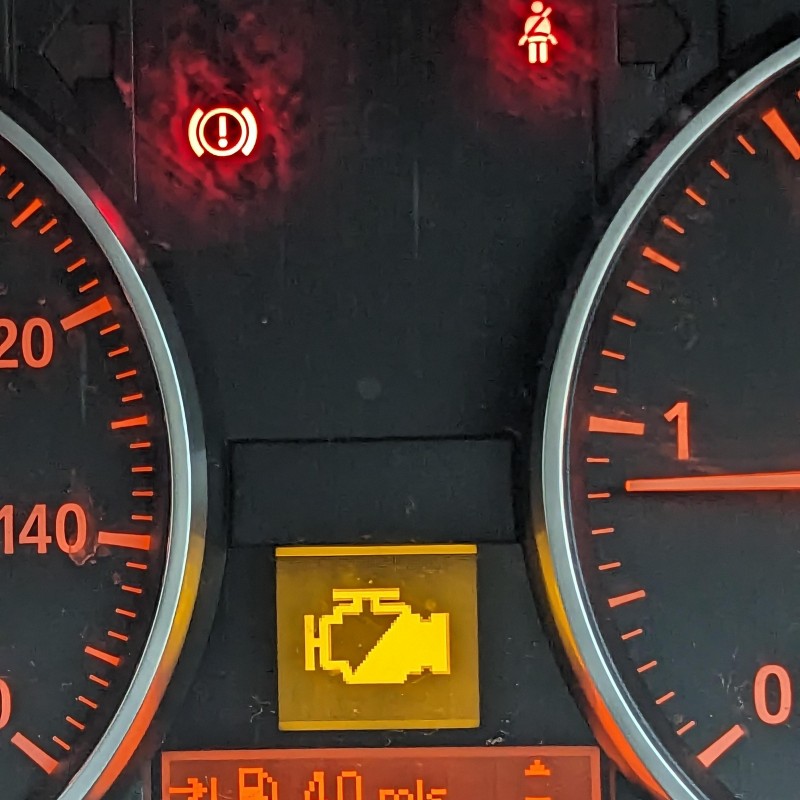
The check engine light (CEL), also known as the malfunction indicator lamp (MIL), is part of the vehicle’s onboard diagnostics system. It serves as a warning signal for potential issues related to the engine, exhaust system, fuel system, or other key components.
Common Reasons the Light Is Activated
Several factors can trigger the check engine light. After a battery change, here are the most common reasons:
- Faulty Sensors: The engine management system relies heavily on sensors to monitor performance. A disrupted or disconnected sensor during a battery replacement can trigger the CEL.
- Computer Recalibration: When powering down a vehicle for a battery change, the car’s computer (ECU) may require recalibration. An improper reset can cause the check engine light to remain lit.
- Loose Connections: If any wiring connections are loose or poorly reattached during the battery swap, it can lead to alerts appearing on the dashboard.
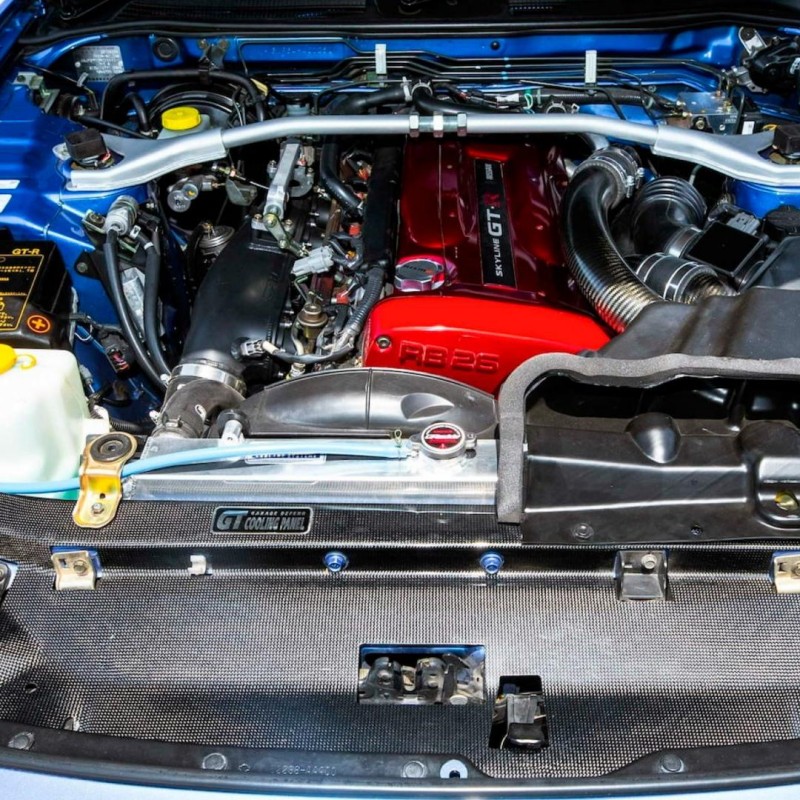
- Battery Status: A new battery must be of sufficient quality to power the vehicle’s systems adequately. An undervoltage situation can lead to several engine management issues.
The Importance of Addressing the Warning
Ignoring the check engine light can lead to serious problems over time. While it is often safe to drive shortly after a battery change, being proactive in resolving the issue is wise.
- Pending Issues: The light can indicate existing problems or be a warning sign of potential future issues, such as emissions system malfunctions or engine performance problems.
- Monitoring Performance: Keeping an eye on the CEL can help you track overall engine performance. If the light remains lit after addressing a battery change, it must be diagnosed properly.
Understanding the role of the check engine light—and the reasons it may light up—is crucial for determining how to reset it effectively after a battery change.
Steps to Reset the Check Engine Light
Resetting the check engine light after changing your vehicle’s battery can usually be accomplished through several methods. Here are some effective techniques you can use.
Method 1: Using the Vehicle’s Ignition
One of the simplest ways to reset the check engine light involves cycling the vehicle’s ignition system.
- Turn on the Ignition: Insert the key or press the start button without starting the engine. This should activate all electrical components without running the engine.
- Wait: Allow the dashboard lights to illuminate for about 10 seconds.
- Turn Off the Ignition: Switch the ignition back off completely.
- Repeat: Perform this action two to three times. After the third time, start the engine and see if the check engine light has turned off.
This method works effectively in many vehicles as it helps recalibrate the onboard diagnostics system.
Method 2: Disconnecting the Battery
Another approach is to disconnect the battery to refresh the vehicle’s electronic systems:
- Turn Off the Engine: Ensure the vehicle is completely turned off and parked in a safe area.
- Disconnect the Battery: Use a socket wrench to loosen the negative terminal clamp. Once loose, remove it from the battery post.
- Wait: Leave the battery disconnected for at least 15 minutes. This time allows the system to reset and clear stored error codes.
- Reconnect the Battery: Reattach the negative terminal clamp, making sure it fits tightly.
- Start the Engine: Turn on your vehicle and check if the check engine light remains illuminated.
This method effectively gives the vehicle’s electronics a chance to reset, potentially clearing the warning light.
Method 3: Using an OBD-II Scanner
For those who have access to an OBD-II scanner, setting the check engine light is straightforward:
- Locate the OBD-II Port: Find the OBD-II port in your vehicle, usually located beneath the dashboard near the steering column.
- Connect the Scanner: Plug the OBD-II scanner into the port.
- Turn on the Ignition: Power the vehicle into the “ON” position without starting the engine.
- Follow Scanner Instructions: Use the scanner to read existing error codes. If the codes were related to the recent battery change, you may have the option to clear them directly through the scanner.
- Clear Codes: Follow the prompts on the scanner to clear the existing codes, which should extinguish the check engine light.
Using an OBD-II scanner is a reliable method that can also serve as a diagnostic tool to check various systems in your vehicle.
Method 4: Professional Service
If the above methods do not resolve the issue, seeking professional assistance might be necessary.
- Visit a Mechanic: Take your vehicle to a trusted mechanic or an automotive service center.
- Diagnostic Test: The technician can perform a comprehensive diagnostic test to identify underlying issues.
- Resolution and Reset: Once any necessary repairs are made, the technician can reset the check engine light for you.
While this option involves additional costs, it ensures that any hidden issues are addressed promptly and thoroughly.
Troubleshooting Additional Issues
If the check engine light remains on after trying to reset it, further investigation may be required. Here are some common troubleshooting steps:
Inspect for Loose Connections
Double-check all connections made during the battery change. Ensure that both terminals are securely tightened and that no wiring has come loose.
Evaluate Related Warning Lights
If the check engine light persists, look for other warning lights illuminating on your dashboard.
- ABS Light: If the ABS light is on, it could indicate a fault within the braking system or a connection issue near the battery.
- Battery Light: An illuminated battery light may signify an issue with the new battery or charging system.
Conduct a Visual Inspection
Look over any accessible components near the battery and wiring harness for signs of wear, damage, or improper connections.
Monitor Vehicle Performance
Keep an eye on how your vehicle is performing. If you notice irregular driving behavior such as stalling, sputtering, or poor acceleration, take it to a mechanic immediately.
Frequently Asked Questions About Check Engine Lights and Battery Changes
Understanding common questions can help clarify the process of dealing with check engine lights following a battery change. Here are several frequently asked questions:
Does Disconnecting the Battery Clear Error Codes?
Yes, disconnecting the battery will typically reset the onboard diagnostics and clear any stored error codes, including those triggering the check engine light.
Why Did the Check Engine Light Come On After Changing the Battery?
Changing the battery can disrupt electronic systems, leading to temporary system errors. Sometimes, a loose connection can also trigger the light.
What Other Actions Should I Take After a Battery Change?
After changing the battery, ensure all electrical connections are secure, check for any warning lights, and allow the vehicle’s computer to recalibrate by driving it gently for a few miles.
Should I Worry if the Check Engine Light Stays On?
If the check engine light remains illuminated after attempting to reset it, it’s wise to have a diagnostic performed to identify any potential underlying problems.
How Can I Check the Battery Health?
Many auto parts stores offer free battery testing. Alternatively, you can use a multimeter to check voltage levels—typically around 12.6 volts for a healthy battery.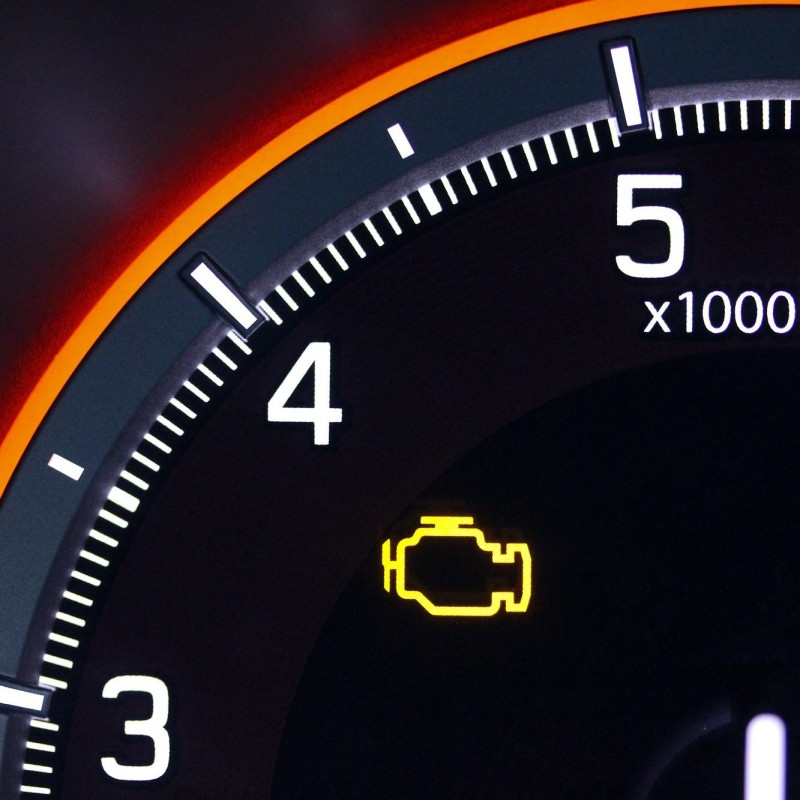
Conclusion
How to reset check engine light after battery change? Resetting the check engine light after a battery change can sometimes be a simple procedure, but it’s crucial to understand the various mechanics surrounding it. The check engine light serves as an essential alert for vehicle owners, indicating the health and functionality of the engine and related systems. Knowing how to reset it effectively can save time and frustration while ensuring you’re not ignoring any potential issues your vehicle may be experiencing.
While instructions like using the ignition cycle, disconnecting the battery, or employing an OBD-II scanner can often resolve the problem, a continuing check engine light requires further investigation. Expanding your knowledge about the dashboard lights and what they signify can help you maintain your vehicle effectively.
Being proactive in inspecting your vehicle after a battery replacement and keeping abreast of maintenance practices ultimately leads to a smoother driving experience. Whether you handle the reset yourself or seek professional assistance, understanding the operation of the check engine light fosters a greater sense of security in your vehicle management.