When dealing with engine issues, one common yet often overlooked problem is the failure of freeze plugs. As a vital component of your vehicle’s engine, freeze plugs help prevent coolant from leaking and protect the engine block from damage due to freezing temperatures. However, when these plugs fail, it can result in significant leakage, leading to engine overheating. Many car owners may believe that replacing freeze plugs necessitates removing the entire engine, which can be a time-consuming and labor-intensive task. Fortunately, you can learn how to replace freeze plugs without removing the engine itself. This comprehensive guide will explore the process of replacing freeze plugs, the tools required, and helpful tips to ensure a successful repair. By following the steps outlined in this article, you can address this issue effectively, saving you both time and money while keeping your engine in optimal condition.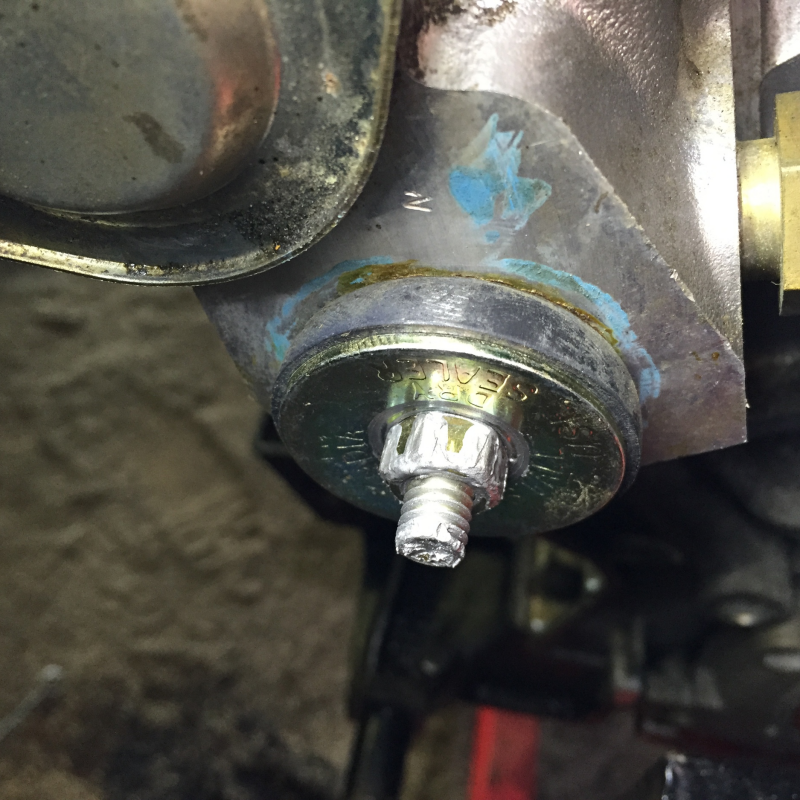
Understanding Freeze Plugs
Before diving into the replacement process, it’s essential to understand what freeze plugs are and their purpose within your vehicle’s engine.
What Are Freeze Plugs?
Freeze plugs, also known as core plugs, expansion plugs, or frost plugs, are components installed in the engine block.
- Purpose: Their primary function is to protect the engine from cracking during extreme cold weather. When coolant freezes, it expands. The freeze plugs allow for this expansion without damaging the engine block, as they will pop out to relieve pressure.
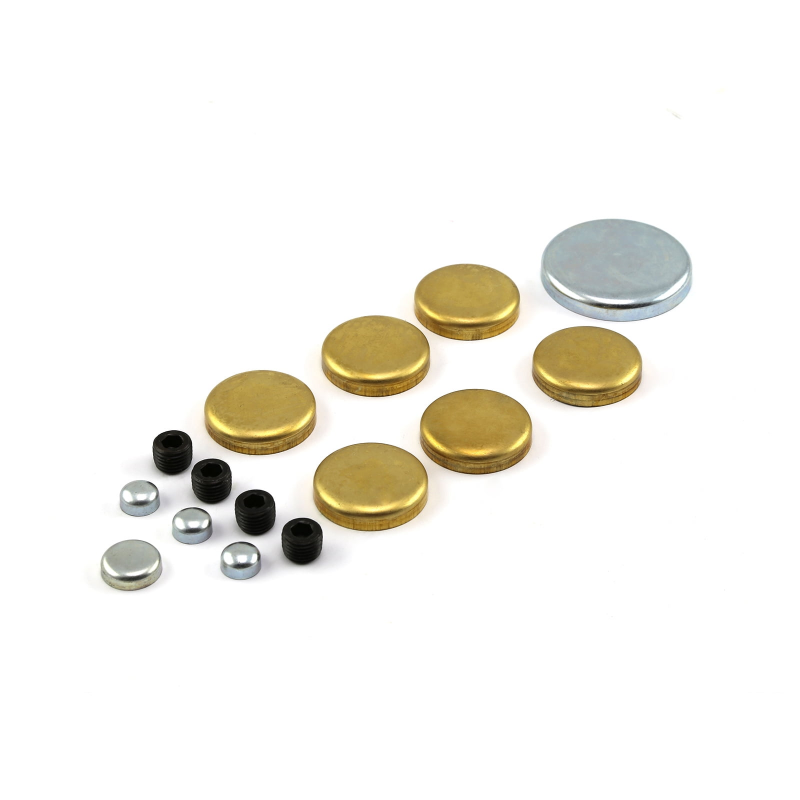
- Placement: Typically, freeze plugs are inserted into holes in the engine block during manufacturing. They can be found in various shapes—commonly round—and made from materials such as steel or brass.
Signs of Freeze Plug Failure
Recognizing the symptoms of freeze plug failure early on is crucial for preventing further engine damage.
- Coolant Leaks: If you spot coolant leaking from under your vehicle, it may indicate a failing freeze plug. Often, coolant drips will appear around the area of the freeze plug.
- Overheating Engine: A malfunctioning freeze plug can compromise the cooling system, leading to engine overheating. Keeping a close eye on your temperature gauge is essential.
- Corrosion: Inspect the area around the freeze plugs for signs of corrosion or rust. This damage can weaken the plugs and indicate that they may be nearing failure.
Gathering Essential Tools and Materials
Now, let’s discuss the tools and materials you’ll need for the replacement process.
Necessary Tools
Having the right tools on hand simplifies the replacement process and ensures you complete the task efficiently.
- Socket Set: A complete socket set, including ratchets and extension bars, will help you remove any necessary components to access the freeze plugs properly.
- Wrench Set: A good quality wrench set is essential for performing precise adjustments, especially if the freeze plugs are tight.
- Pry Bar: A pry bar can assist in removing old freeze plugs that may be stubbornly in place.
- Hammer or Mallet: Use a hammer or mallet to gently tap in new freeze plugs or remove old ones.
- Sealant: High-temperature sealant can provide additional support to ensure a leak-proof fit for the new freeze plugs.
Materials Needed
In addition to tools, you will need the following materials for the replacement process.
- Replacement Freeze Plugs: Choose high-quality freeze plugs suited for your engine’s specifications. Ensure they match the size and type of the original plugs.
- Engine Coolant: You will need the appropriate engine coolant for your vehicle, as you’ll need to refill the system after replacing the freeze plugs.
- Shop Towels: Keep shop towels or rags handy to clean up any spills and ensure the work area remains tidy.
Preparing for Replacement
Preparation is key to a successful freeze plug replacement. Follow these steps to get your workspace ready.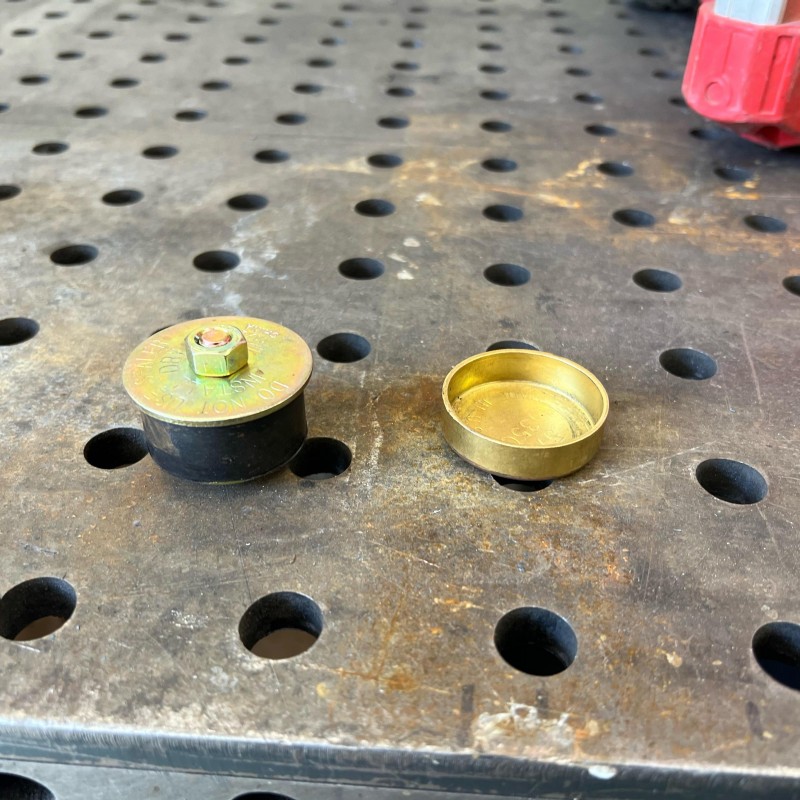
Safety First
Before starting any engine work, prioritize safety to protect yourself and your vehicle.
- Wear Protective Gear: Always wear safety glasses, gloves, and long sleeves to shield yourself from sharp objects and prevent irritation from coolant and other chemicals.
- Work in a Well-Ventilated Area: Ensure that your workspace has proper ventilation to avoid inhaling harmful fumes released from the engine or coolant.
Gather Your Supplies
Once you’ve prioritized safety, gather all the tools and materials outlined in the previous section.
- Organized Workspace: Set up your workspace to have all tools and materials within reach. An organized environment reduces stress during the replacement process.
Inspect Your Vehicle
Before proceeding, take some time to inspect your vehicle under the hood.
- Identify Freeze Plug Locations: Familiarize yourself with the locations of the freeze plugs. They are typically found along the sides of the engine block or at the rear of the engine.
Step-by-Step Process to Replace Freeze Plugs Without Removing the Engine
Now that you’re prepared, it’s time to dive into the step-by-step process of replacing freeze plugs without removing the engine.
Draining the Cooling System
Before you can access the freeze plugs, begin by draining the engine’s cooling system to prevent spills and coolant leaks.
- Locate the Drain Valve: Look for the radiator drain valve, usually located at the bottom of the radiator.
- Drain Coolant: Open the drain valve and allow the coolant to flow into a container. Take your time with this step to ensure all coolant drains to avoid contamination.
Removing the Old Freeze Plug
With the cooling system drained, it’s time to remove the old freeze plug.
- Assess the Freeze Plug: Examine the condition of the freeze plug. You may notice some corrosion or damage, which validates the need for replacement.
- Use a Pry Bar: Insert a pry bar around the edges of the freeze plug. Gently apply leverage to pry the plug out of its seating. If it proves stubborn, you may need to tap around the edges with a hammer to loosen it.
Cleaning the Seat
Once you’ve removed the old freeze plug, clean the seat where the new plug will be installed.
- Debris Removal: Use a wire brush or scraper to remove any debris, rust, or residue from the seat area. A clean surface ensures that the new freeze plug will fit tightly and create a proper seal.
- Inspect for Damage: Check the surrounding area for cracks or damage. If any significant issues exist, consider consulting with a mechanic before proceeding.
Installing the New Freeze Plug
Now you can install the new freeze plug.
- Preparation: Before insertion, apply a thin layer of sealant around the edges of the new freeze plug. This step helps create a watertight seal when the plug is seated.
- Align and Tap: Carefully align the new freeze plug over the seat. Use a hammer to tap it gently into place. Ensure it sits evenly; an improperly seated freeze plug can lead to leaks.
- Check for Fit: Once installed, verify that the freeze plug is flush with the surface to avoid any protrusions that could lead to issues.
Repeating the Process
If your engine has multiple freeze plugs, repeat the above steps for each one.
- Be Methodical: Take your time to ensure each plug is installed correctly. Rushing through the process can lead to mistakes and complications later.
Refilling and Testing the Cooling System
With all the new freeze plugs in place, you’ll need to refill your cooling system and test for leaks.
Adding Coolant Back
After replacing the freeze plugs, you’ll want to refill the cooling system before starting the engine.
- Use the Correct Coolant: Make sure to use the coolant recommended by your vehicle’s manufacturer. This ensures proper cooling properties and protects your engine over time.
- Open the Radiator Cap: Begin by opening the radiator cap. Slowly pour coolant into the radiator, permitting the coolant to flow freely and fill the system.
Bleeding the System
Removing air from the cooling system is imperative to ensure optimal performance.
- Identify Bleed Valves: Some vehicles come equipped with bleed valves. Locate them, and open the valves while pouring coolant until a steady stream flows out without bubbles.
- Close Bleed Valves: After ensuring no air bubbles emerge, close the bleed valves to complete the process.
Testing for Leaks
Once you refill the cooling system, it’s time to check for leaks.
- Start the Engine: Start your engine and let it run for a few minutes. Pay close attention to the area around the freeze plugs to ensure there are no leaks.
- Monitor Temperature: Check the temperature gauge while the engine runs. If there’s an irregular increase in temperature, this may indicate a problem with your installation.
Considerations for Future Maintenance
Once you’ve successfully replaced the freeze plugs, consider steps to maintain your engine’s health moving forward.
Regular Inspections
Regular inspections of your vehicle can help you catch potential issues early on.
- Check Coolant Levels: Periodically check coolant levels and inspect the condition of the freeze plugs. Address any potential leaks or corrosion before they escalate.
- Monitor Temperature: Always keep an eye on your temperature gauge while driving. A sudden rise may suggest an underlying issue that needs attention.
Seasonal Care
During the winter months, consider taking additional precautions to protect your vehicle.
- Add Antifreeze: As temperatures drop, ensure that your coolant mixture contains proper antifreeze. This helps protect against freezing and expands the functional life of your engine.
- Check Battery and Electrical Systems: Cold weather can strain batteries and electrical systems, leading to potential failures. Ensure everything is in proper working order.
Conclusion
Replacing freeze plugs without removing the engine is a task that, while daunting for the uninitiated, can lead to significant savings and enhance your car’s longevity. Understanding the role of freeze plugs and recognizing the symptoms of failure empowers you to address the situation proactively.
In this article, we explored why freeze plugs matter, the tools and materials needed for a successful replacement, and provided step-by-step instructions for the entire process. By following these steps, you can replace your freeze plugs with confidence, avoiding the time and expense of a complete engine removal.
Remember, proactive maintenance is always easier than dealing with unexpected failures. Regular inspections, seasonal care, and familiarity with your vehicle’s cooling system can keep your engine running smoothly and efficiently. With the right knowledge and preparation, you can tackle freeze plug replacement effectively, ensuring your vehicle remains in excellent condition for years to come.