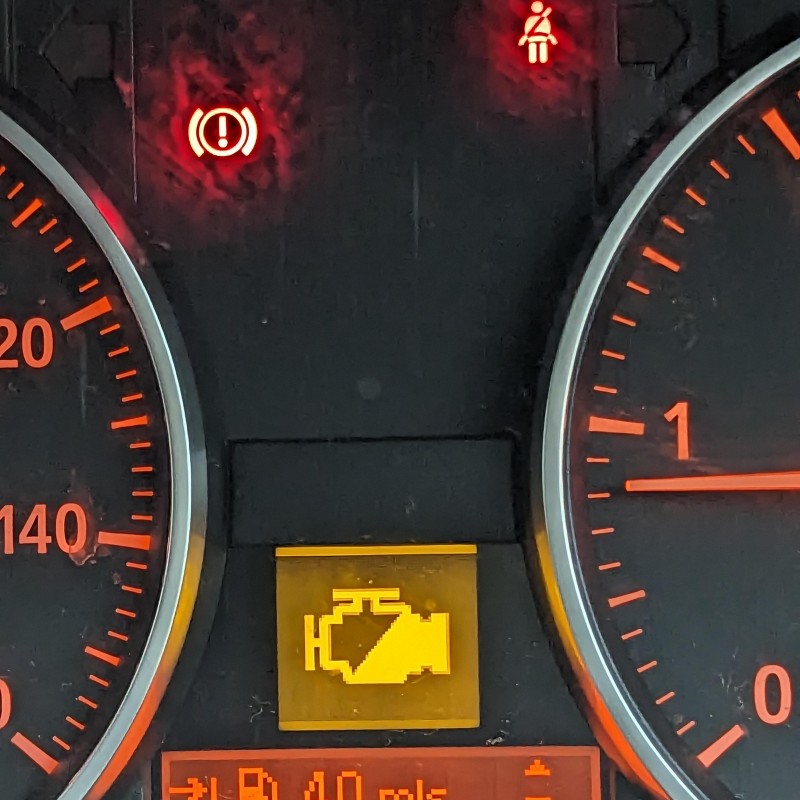
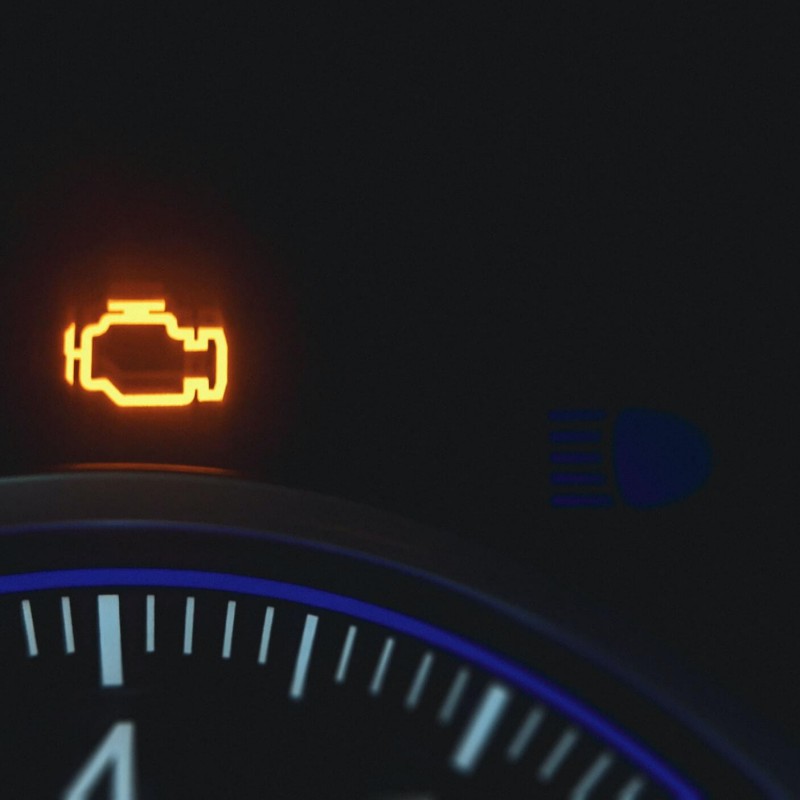
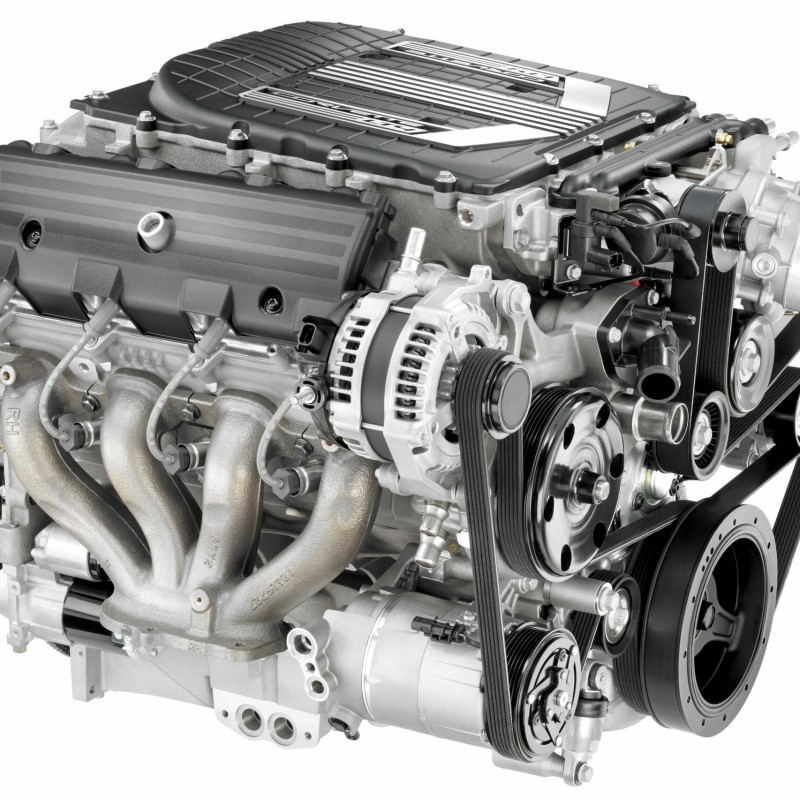
The check engine light is a common nuisance for many drivers, regardless of their automotive knowledge. It often signifies that your vehicle’s engine control unit has detected an issue that needs attention. However, not all check engine lights indicate a severe problem; sometimes, they may light up due to minor issues or momentary glitches. While it is essential to address the underlying problem behind the warning light, knowing how to reset your check engine light can be invaluable for maintaining your vehicle and preventing unnecessary visits to the mechanic. Whether you’re an adult trying to get by on a tight budget or simply prefer addressing minor issues yourself, understanding this process can save time and money. This article provides a comprehensive guide on how to reset your check engine light, covering various methods, common causes for the light activation, and when to seek professional help.

Understanding the Check Engine Light
Before diving into the specifics of how to reset your check engine light, it’s crucial to understand what this warning actually signifies. The check engine light is part of your vehicle’s onboard diagnostics (OBD) system, which monitors various components of your engine and emission control systems. When the OBD system detects an anomaly—such as an issue with your oxygen sensor, fuel system, or ignition system—it triggers the check engine light to alert the driver.
There are two main types of check engine lights: the steady light and the blinking light. A steady light typically indicates a minor issue that may not require urgent attention but still needs a closer look. Conversely, if the light is blinking, this signals a more significant problem, such as an engine misfire. Ignoring a blinking check engine light could result in severe engine damage, leading to costly repairs later.
Understanding the underlying causes of the check engine light can also help you assess the urgency of the matter. Problems such as a loose gas cap, worn spark plugs, or faulty emissions systems are typical triggers. Fortunately, many of these issues can be fixed relatively easily if resolved promptly.
Common Causes of the Check Engine Light
Having a checklist of common causes for the check engine light can help you diagnose the issue without needing to rely on a mechanic right away. Often, the check engine light can illuminate due to minor issues that can be addressed quickly. Here are some of the most common triggers:
- Loose Gas Cap: A loose or damaged gas cap can create a vacuum leak in the fuel system, resulting in the check engine light illuminating. This is an easy fix; simply ensure that your gas cap is properly tightened to see if the light resets.
- Faulty Oxygen Sensor: The oxygen sensor monitors the level of oxygen in your exhaust gases and helps regulate the fuel-to-air ratio. If it wears out, it can negatively impact performance and fuel efficiency, leading to a possible check engine light.
- Bad Spark Plugs or Ignition Coils: Worn or failing spark plugs can cause misfires, leading to increased emissions and reduced engine performance. If you find this issue, consider replacing the affected plugs or coils.
- Exhuast System Issues: Problems in the exhaust system, including leaks or faults, can trigger the check engine light. Inspect for any unusual sounds or smells, which may indicate a deeper issue.
- Faulty Mass Airflow Sensor: This sensor measures the amount of air entering the engine and ensures the proper fuel-to-air mixture. A malfunction can lead to poor engine performance and fuel efficiency.
By being aware of these common issues, you may be able to identify the reason for the check engine light before delving into how to reset it.
Methods for Resetting Your Check Engine Light
Now that you’ve identified possible causes, let’s explore the various methods to reset your check engine light. Depending on the underlying issue, different techniques may be more effective.
Using an OBD-II Scanner
Investing in an OBD-II scanner is one of the most effective and straightforward ways to reset your check engine light. These scanners connect to the OBD-II port, typically located under the dashboard on the driver’s side. Here’s how to do it:
- Turn Off Your Vehicle: Ensure that your engine is completely off before starting the process.
- Connect the Scanner: Plug your OBD-II scanner into the port and turn on the ignition without starting the engine.
- Access Trouble Codes: Navigate through the scanner’s menu to find trouble codes. This information helps you determine the issue that triggered the check engine light.
- Clear the Codes: Once you’ve noted the trouble codes or fixed the underlying issue, follow the scanner’s instructions to clear the codes and reset the light.
- Turn Off the Ignition: Remove the scanner and restart your vehicle to see if the check engine light is still illuminated.
Using an OBD-II scanner is a cheap and effective method, especially for those who want to troubleshoot and maintain their vehicles regularly.
Disconnecting the Battery
Another common method for resetting your check engine light involves disconnecting the battery. This method works by interrupting the power supply, effectively “rebooting” the vehicle’s computer system. Here’s how you can do it:

- Turn Off the Engine: Ensure that your vehicle is turned off completely.
- Open the Hood: Safely open the hood and locate the battery.
- Disconnect the Negative Terminal: Use a wrench to loosen the connection on the negative terminal, removing it from the battery.
- Wait: Leave the battery disconnected for at least 15 minutes. This time allows the system to reset.
- Reconnect the Battery: After waiting, reconnect the negative terminal. Ensure it’s securely tightened.
- Start Your Vehicle: Turn on the engine and check if the check engine light has turned off.
While this method is straightforward, it’s important to note that disconnecting the battery can reset other settings in your vehicle, such as your radio presets or clock.
Using the Ignition Key Method
For some vehicles, you can reset the check engine light simply by using the ignition key. This method is not universal but can be effective on certain older models:
- Turn On the Ignition: Insert your key and turn it to the “ON” position without starting the engine.
- Consult the Manual: Follow your vehicle’s specific instructions, as some models require a series of on-off cycles to reset the light.
- Wait for the Check Engine Light: In some cases, the light may go off after a few seconds. If not, turn the key off and repeat a few times.
While this method can be fast and easy, it’s not guaranteed to work on all vehicles.
When to Seek Professional Help
While resetting the check engine light can be a straightforward process for minor issues, there are times when you should seek professional assistance. If the check engine light continues to illuminate after performing a reset, or if it is blinking, it is crucial to address the underlying issues immediately. Here are some scenarios that may require professional attention:
- Persistent Warning: If the check engine light reappears shortly after resetting it, this indicates that the issue wasn’t resolved. Continue monitoring the vehicle for unusual sounds, smells, or performance issues.
- Blinking Light: A blinking check engine light typically signifies a severe issue, such as an engine misfire. In such cases, it’s essential to seek help from a certified mechanic.
- Unusual Performance: If your motorcycle, scooter, or any other vehicle displays decreased performance, such as reduced power, poor acceleration, or stalling, getting it examined by a professional is recommended.
Regular maintenance and check-ups can help to prevent recurring issues that trigger the check engine light.
Preventative Measures to Avoid Triggering the Check Engine Light
Preventing the check engine light from illuminating in the first place is always the best practice. Here are some simple strategies to maintain your vehicle and avoid issues:
- Regular Maintenance: Schedule regular tune-ups and inspections to ensure that your vehicle’s components are functioning well, including oil changes, filter replacements, and fluid checks.
- Check Your Gas Cap: Always ensure that your gas cap is securely tightened after refueling. This simple step can prevent many minor issues.
- Monitor Engine Performance: Pay attention to any changes in engine performance, such as stuttering or unusual noises. Early intervention can mitigate more significant problems.
- Use Quality Fuel: Consistently using high-quality fuel can lead to better performance and longevity of engine components.
- Invest in Quality Parts: When repairing or replacing parts, opt for quality or OEM (Original Equipment Manufacturer) parts to ensure optimal functioning and compatibility with your vehicle.
By adopting these preventative measures, you can ensure a smoother riding experience and minimize the chances of your check engine light illuminating unexpectedly.

Conclusion
Knowing how to reset your check engine light provides confidence and empowerment as a vehicle owner. While the presence of the check engine light can be alarming, understanding its purpose, common causes, and available reset methods can demystify the process. Employing techniques such as connecting an OBD-II scanner or disconnecting the battery can offer quick solutions and enable vehicle owners to manage minor issues effectively. However, knowing when to seek professional assistance is equally crucial for maintaining your vehicle’s health and performance.
Incorporating regular maintenance practices into your routine not only helps avoid potential triggers for the check engine light but also significantly enhances the overall performance and longevity of your vehicle. Whether you enjoy casual riding on scooters or navigating urban roads in a car, keeping your vehicle in peak condition will promote a seamless, safe, and enjoyable experience. By aligning your knowledge and skills, you can face any check engine light dilemma with confidence, ensuring the road ahead is clear and trouble-free.


