Introduction to Engine Building
The Fascination and Feasibility of Engine DIY
How to build an engine? The thought of building an engine can be daunting. You may feel that it’s a task reserved only for expert mechanics or those with a professional shop at their disposal. But take heart, because the reality is actually far more encouraging. Today’s advancements and accessibility of information have made DIY engine projects not just possible but an increasingly common undertaking for enthusiasts.
Many people share a deep fascination with the intricate workings of engines. It’s this curiosity that drives the DIY spirit, empowering individuals to take charge and gain a hands-on understanding of what makes their vehicles tick. The process of building an engine yourself is not just about piecing together parts; it’s a learning journey that offers immense satisfaction.
Despite what you might think, you don’t need to create an engine from scratch. Auto manufacturers and professional shops often outsource parts, showing that no engine is a one-person job. For the DIY builder, it means focusing on specs, measurements, and assembly with carefully selected components.
Building your own engine offers tangible benefits. Cost savings is a clear advantage, but beyond that, there’s the boost in confidence and skill that comes with successfully completing such a project. Knowledge is power, and knowing your engine inside and out can mean the difference between timely maintenance and costly repairs down the line.
So, if you’re considering taking on the challenge, remember, it may be much more within your reach than you think. With patience, careful planning, and the right tools, you’ll find that engine DIY is not just feasible; it’s an incredibly rewarding venture that can improve your understanding of your vehicle’s inner workings.
Planning Your Engine Build
Budgeting and Expense Management
How to build an engine? Building an engine requires careful financial planning. Start by outlining all your anticipated expenses. This includes the cost of parts, tools, and any professional services you might need. Remember, hidden costs can come up, so add a buffer to your budget. Aim to stick to your budget, but be flexible if you encounter unforeseen expenses.
Objective Setting: Performance vs. Longevity
Decide on your engine’s main purpose. For performance, you may choose stronger materials. For longevity, focus on reliability and durable parts. Achieving a balance between the two is possible, but be prepared that it might increase costs.
Space and Infrastructure Considerations
Ensure you have a suitable area to work on your engine. The space should be clean, well-lit, and spacious enough for tools and assembly. Having an engine stand and lift can be crucial. Without the right space, the build could face delays or complications.
The Importance of Support and Expertise
Seek advice from experienced builders. Their insights can save time and money. They may also help you avoid common mistakes. Building an engine is complex; don’t undervalue expert guidance. It could be the difference between success and an expensive learning experience.
Understanding Engine Anatomy
Breaking Down the Internal Components
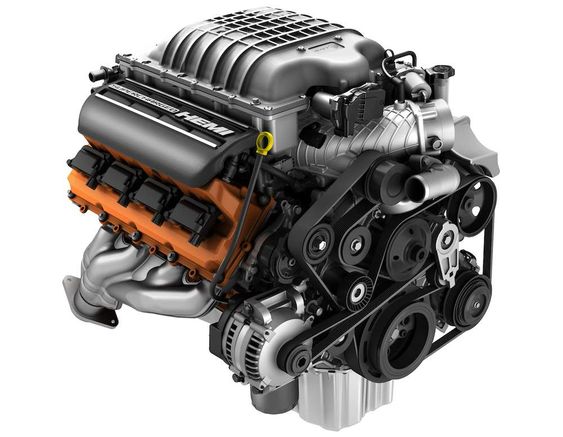
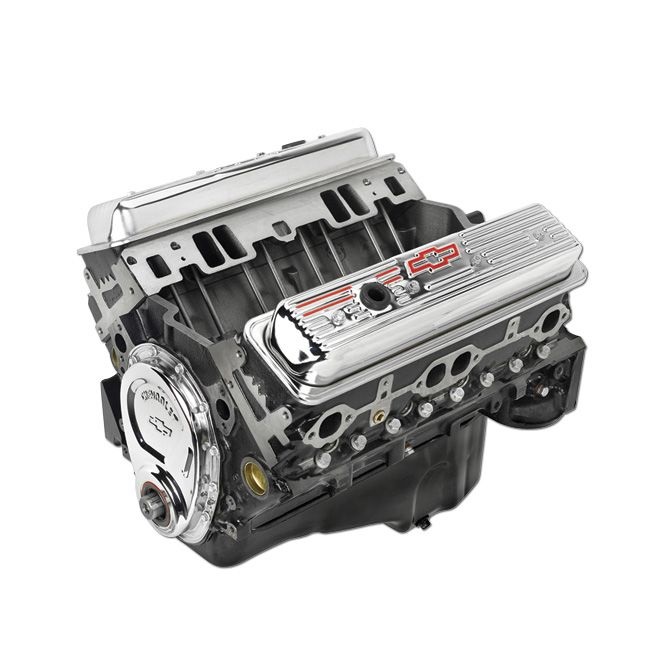
How to build an engine? An engine is much like the heart of your car. It consists of various parts that work together harmoniously to power your vehicle. Understanding the roles and interactions of these components is key to a successful build. First, we have the engine block, which is the sturdy casing that houses most of the internal parts. Inside the block, you’ll find the cylinders where pistons move up and down, driven by combustion. The crankshaft converts the pistons’ linear motion into rotational force that turns the wheels. Other critical parts include the camshaft, valves, and timing assembly, which control the engine’s breathing. During your build, you’ll become intimately familiar with each of these parts.
The Roles of Pistons, Rods, and Bearings
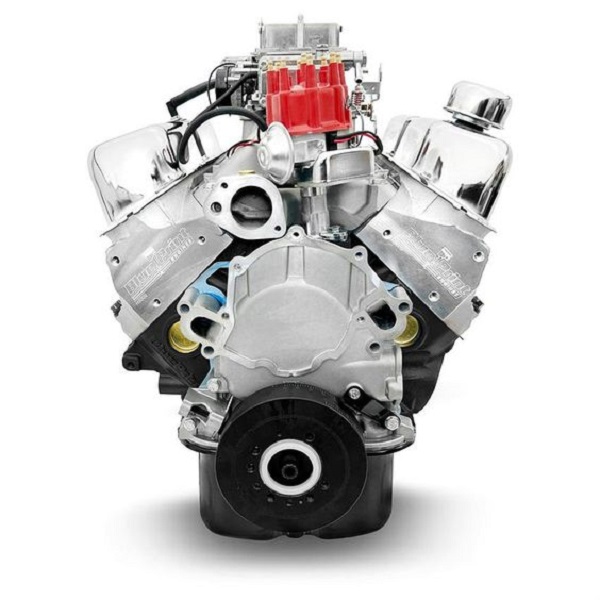
Now, let’s focus on pistons, rods, and bearings – essential components that determine an engine’s performance and longevity. Pistons are responsible for transferring the force from exploding fuel to the crankshaft. They need to withstand immense pressure and heat. Rods connect the pistons to the crankshaft, and their durability is crucial for handling the engine’s power. Bearings allow smooth movement between the crankshaft and rods, reducing friction and wear. Choosing the right materials and specifications for these parts will directly impact your engine’s efficiency and output. Make sure to select high-quality pistons, rods, and bearings that match your engine’s requirements and your performance goals.
Selecting Your Parts
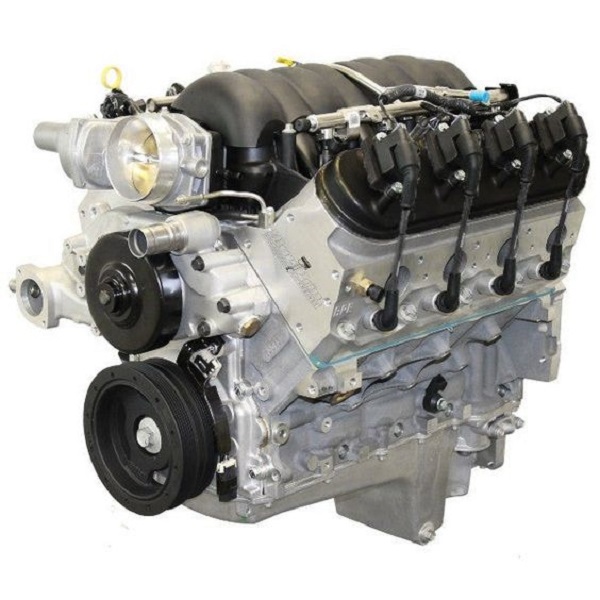
Choosing parts for your engine build is a critical step that needs careful attention. It’s where you lay out the groundwork for your engine’s performance and reliability. Start by identifying the type of engine block needed. This choice will influence all subsequent decisions for internal components. Seek out an engine block that aligns with your objectives, whether it’s for durability or high performance. Look for trusted sources; reputable dealers or well-reviewed online retailers are your best bet.
Next, you must select the right ancillary components. This includes pistons, rods, and bearings, each playing a crucial role in engine operation. Aim for parts that come with robust warranties and solid reputations among builders. This research phase is not to be rushed; take your time to compare and contrast the options available.
Sourcing the Right Engine Block and Components
When sourcing your engine block, consider its intended use. If high-performance is your goal, find a block capable of withstanding that stress. For a daily driver, focus more on reliability. Reaching out to expert builders for recommendations could make this process smoother. They can point you to the blocks best suited for your build.
As for the other parts, such as pistons and rods, quality is paramount. Don’t skimp on these, as opting for inferior components may lead to engine failure. High-quality parts will pay off in the engine’s lifespan and performance.
The Significance of Quality Aftermarket Parts
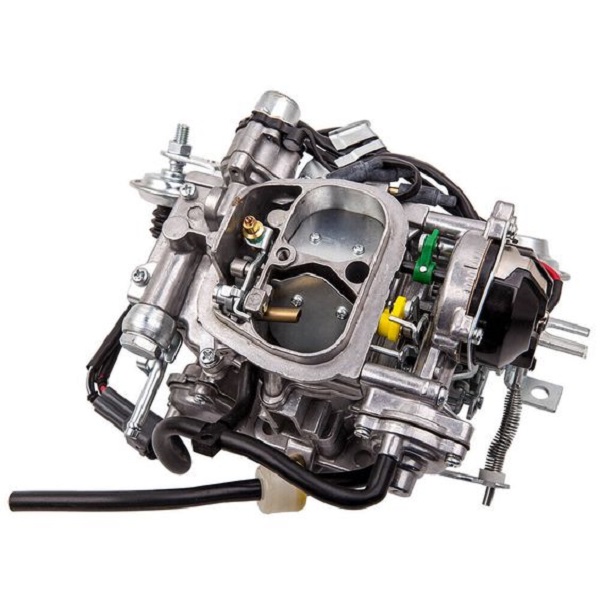
Aftermarket parts could make or break your engine build. Quality aftermarket components can significantly enhance your engine’s performance. They often come with advanced features not found in OEM parts. However, it’s important to vet these parts thoroughly. Ensure they’re compatible with your engine and meet your needs.
Read reviews, consult forums, and gather as much info as possible. This can help avoid the pitfalls of choosing parts that fall short of expectations. And again, don’t hesitate to reach out to the community for advice. Experienced builders can offer insights into which aftermarket parts are worth the investment.
Working with Machine Shops
When and Why to Involve Professionals
How to build an engine? A key step in building your engine is knowing when to call in expert help. Essential for tasks too technical for most hobbyist setups, professionals add precision to your project. Machine shops provide services like cylinder boring, honing, and crankshaft grinding, which demand specialized tools and expertise. Investing in their services helps ensure that critical engine components fit and perform flawlessly, crucial for both longevity and power. Time, cost, and a lack of proper equipment are among the top reasons to seek professional assistance. To avoid costly errors, involve machine shop professionals for complex tasks.
Choosing the Right Machine Shop for Your Project
Selecting a machine shop is as critical as choosing the right parts. Look for a reputable shop, even if it means traveling a bit further. The right shop will have positive reviews, racing engine expertise, and state-of-the-art equipment. Ask for their credentials and previous work examples. They should display a clear understanding of your project goals and engine needs. A strong former client roster serves as a good sign of reliability. Align with a machine shop you trust to take your engine from a collection of parts to a finely tuned powerhouse.
The Assembly Process Explained
The moment has arrived to put theory into practice. Assembling an engine can be intense, but with methodical preparation, it becomes manageable. Here, we’ll examine the steps that transform your collected parts into a functioning engine.
Cleanliness and Preparation: The Foundations of Assembly
Before starting, ensure your workspace is clean. Any dirt can cause engine damage. Collect all necessary tools, clean them, and organize them for easy access. Remember, cleanliness is not just about the space. Each engine part must be spotless before installation.
Have your service manual handy, as it provides specific instructions for your engine. A clean, well-lit, and clutter-free environment is the best setting for assembly. Dedicate time to prepare your space, preventing rush and reducing errors.
Step-by-Step Guide to Assembling the Engine
- Start by installing the crankshaft into the engine block. Lightly oil bearings for smooth movement.
- Install the pistons. Be careful with the piston rings; they must be properly gapped according to the manual.
- Secure connecting rods, which attach pistons to the crankshaft. Torque bolts to specifications.
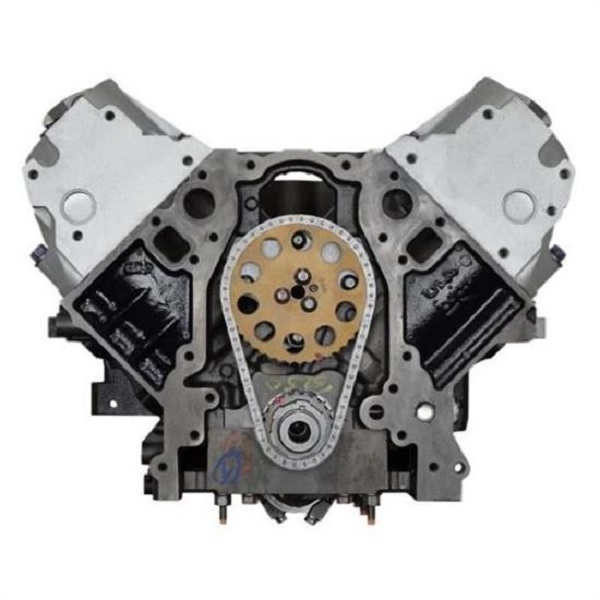
- Place the camshaft and ensure timing marks align.
- Install the cylinder head. Apply torque to head bolts in the sequence the manual states.
- Attach the timing belt or chain, setting it to the correct tension.
- Put in place all remaining components such as oil pump, valve lifters, and sump.
- Constantly refer to the manual for torque specs and sequence.
Each step requires attention to detail and adherence to guidelines. Never force parts together; they should fit smoothly. Take breaks if needed to maintain focus. With patience, the assembly will progress steadily to completion. Stay mindful of your engine build’s nuances and recognize when to seek expert advice. Doing so will not only ensure successful assembly but also instill confidence for future projects.
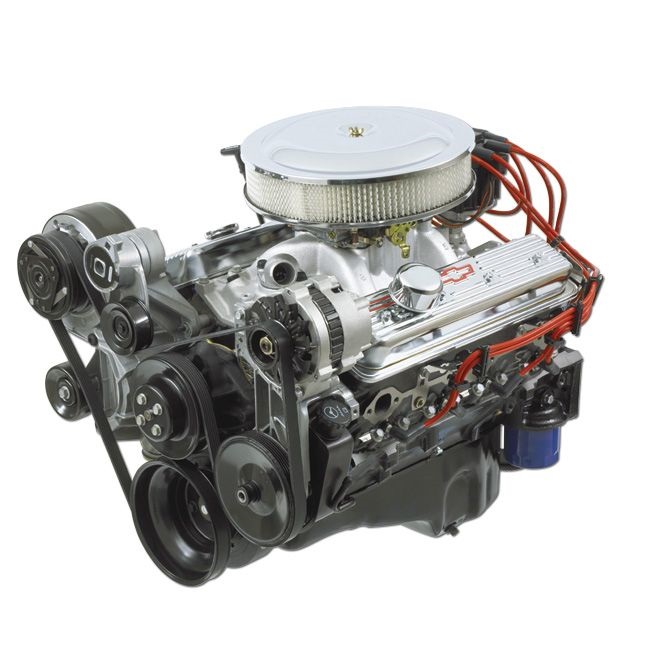
Testing Your Engine Build
Once your engine is assembled, testing is vital. This ensures everything works as it should.
Initial Start-Up and Adjustments
For the initial start-up, follow these steps:
- Check all connections are tight and correct.
- Fill the engine with oil and coolant.
- Prime the oil system to avoid dry starts.
- Ensure the battery is fully charged.
- Turn the key to start and listen for any unusual noises.
- Monitor oil pressure and temperature gauges.
- If the engine starts, let it idle and check for leaks.
- Make any necessary adjustments as you observe the engine’s behavior.
Careful monitoring during the first start-up prevents damage and catches issues early.
Break-In Procedures and Best Practices
Breaking in your new engine is crucial. It ensures a long and healthy engine life.
- Keep the engine running at a low to moderate speed (around 2000 rpm).
- Avoid heavy loads on the engine during the first few hours.
- Change the oil after the first 100 miles.
- Drive with varying speeds and loads for about 500 miles.
- After 500 miles, conduct another oil change.
Following these steps helps the moving parts to ‘settle in’ and adapt to working together.
Post-Build Tips and Maintenance
Regular Oil Changes and Monitoring Engine Health
Once your engine is built, maintaining it is key. Start with regular oil changes. This is essential for engine health. Check your oil level often and replace it according to the manual’s schedule. Use the correct oil grade for your engine type. Monitoring engine health also involves listening for strange noises or watching for performance issues. Check temperature gauges often. Don’t ignore warning lights on the dashboard. They can signal a problem that needs quick attention.
Upkeep of Tools and Parts for Future Builds
After the build, take care of your tools. Clean and store them properly. This helps them last longer. Organize your workspace. Label parts and tools, so they’re easy to find next time. Keep an inventory of spare parts. This is useful for quick repairs or future projects. Remember, good tool and part care can save you money and trouble later.