The heart of your car, the engine, is a complex and powerful machine. While taking on an engine rebuild might seem daunting, with the proper knowledge and tools, it’s a rewarding project for DIY enthusiasts. A successful rebuild can breathe new life into your vehicle, improve performance, and save you money compared to a complete engine replacement.
Rebuilding an engine is a complex yet rewarding task that can significantly extend the life of your vehicle. This intricate process involves disassembling the engine, inspecting and replacing worn components, and reassembling it to factory specifications. Consequently, understanding each step is crucial for a successful rebuild. Therefore, this comprehensive guide covers the essential steps and tips for rebuilding an engine. By following these steps carefully, you can restore your engine to optimal performance.
This comprehensive guide will equip you with the essential steps involved in rebuilding an engine. We’ll cover everything from understanding the process and gathering the necessary tools to disassembly, cleaning, reassembly, and finally, reinstalling the engine in your vehicle.
Before You Dive In: Understanding Engine Rebuilds
Before diving headfirst into disassembly, it’s crucial to understand the reasons for rebuilding an engine and the level of commitment involved. Here are some key considerations:
- Diagnosing the problem: Engine performance issues can have various causes. Ensure a rebuild is truly necessary by consulting a mechanic for a proper diagnosis. Simple repairs like replacing spark plugs or a faulty sensor might be a more cost-effective solution.
- Complexity of the rebuild: The complexity of an engine rebuild varies depending on the extent of the damage and your desired outcome. A basic rebuild might focus on replacing worn components like pistons and rings, while a more advanced rebuild could involve machining the engine block or crankshaft.
- Time and workspace: Rebuilding an engine is a time-consuming process. Ensure you have a dedicated workspace with ample clean space and proper ventilation. Be prepared to devote several days or even weeks to the project, depending on the complexity and your experience level.
Gathering the Arsenal: Essential Tools and Equipment
For a successful diy engine rebuild, having the right tools is paramount. Here’s a list of essential equipment to get you started:
- Basic mechanic’s toolset: This includes a variety of wrenches, sockets, screwdrivers, pliers, and hammers.
- Engine hoist: An engine hoist is crucial for safely removing and reinstalling the engine from the vehicle.
- Engine stand: An engine stand provides a stable platform for working on the engine outside the vehicle.
- Ring compressor: This tool is necessary for compressing piston rings during assembly.
- Micrometer and dial caliper: These tools are used for precise measurements of engine components during the rebuild process.
- Engine cleaning tools: Degreaser, scrapers, and brushes will be needed for thoroughly cleaning engine parts.
- Service manuals and repair guides: A specific service manual for your vehicle’s engine is invaluable for providing detailed disassembly, assembly, and torque specifications.
Safety note: When working on your engine, prioritize safety. Wear safety glasses and gloves to protect yourself from fluids and sharp edges. Working with a friend or helper is advisable, especially during engine removal and installation.
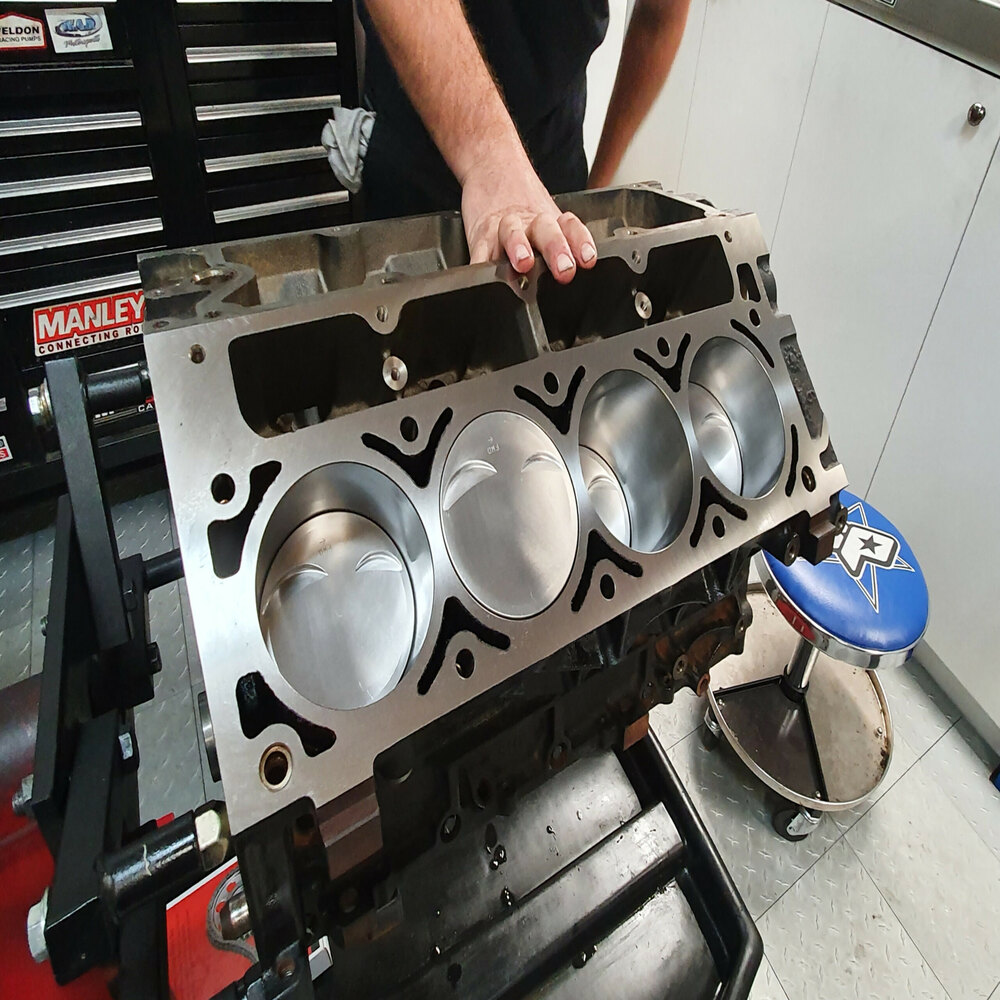
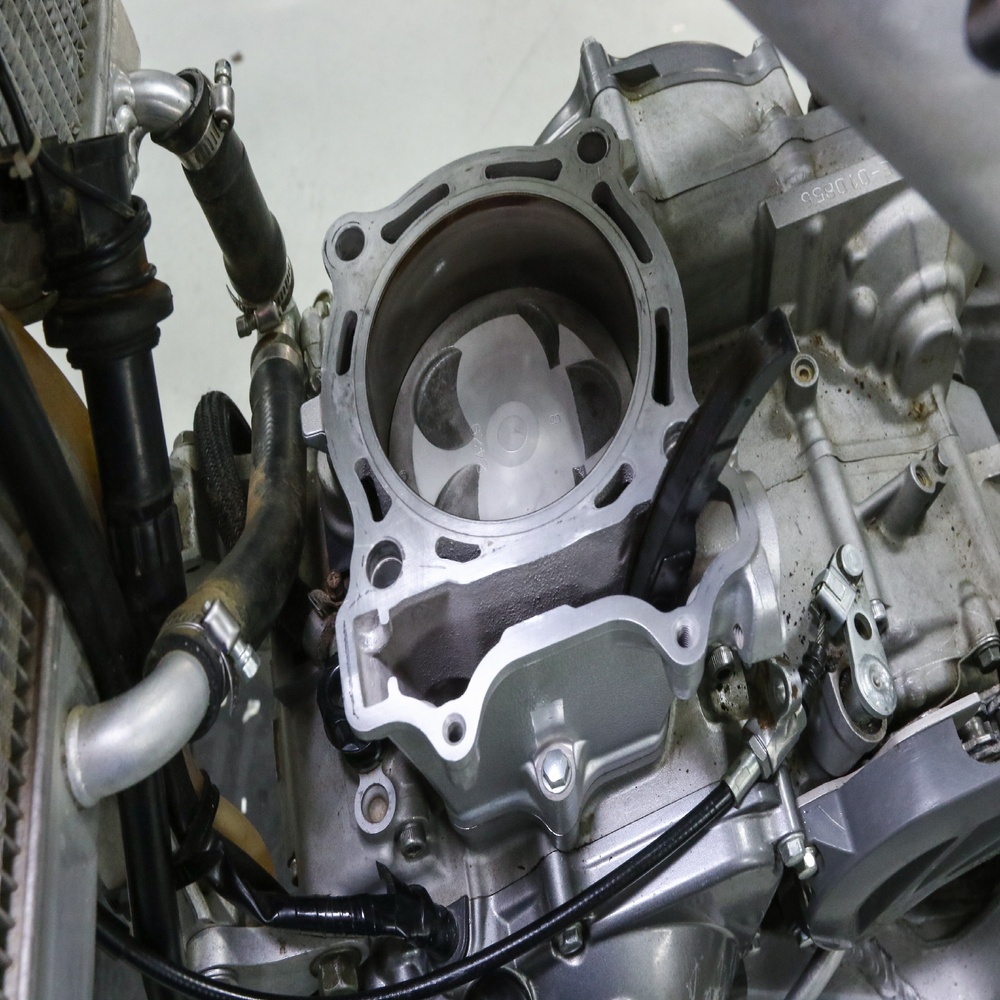
Under the Hood: The Disassembly Process
With your tools gathered and workspace prepared, it’s time to delve into the disassembly process. Here’s a general breakdown of the steps involved:
- Drain fluids: Begin by draining the engine oil, coolant, and any other fluids associated with the engine. Refer to your service manual for specific instructions on draining procedures.
- Disconnect components: Disconnect all electrical wiring, hoses, and vacuum lines connected to the engine. Label these components clearly to ensure proper reassembly later.
- Remove external components: This includes intake and exhaust manifolds, alternator, starter motor, and other external parts attached to the engine block.
- Cylinder head removal: Loosen and remove the cylinder head bolts following the sequence specified in your service manual. Carefully lift the cylinder head off the engine block.
- Piston and crankshaft removal: With the cylinder head removed, you can access the pistons and crankshaft. Use the proper tools to remove the connecting rods and pistons from the engine block. Depending on the complexity of the rebuild, the crankshaft might also need to be removed for inspection and potential machining.
Remember: Throughout the disassembly process, take pictures or label components meticulously to ensure proper reassembly later. Keep track of bolts, nuts, and washers, categorizing them by location for easy reference during reassembly.
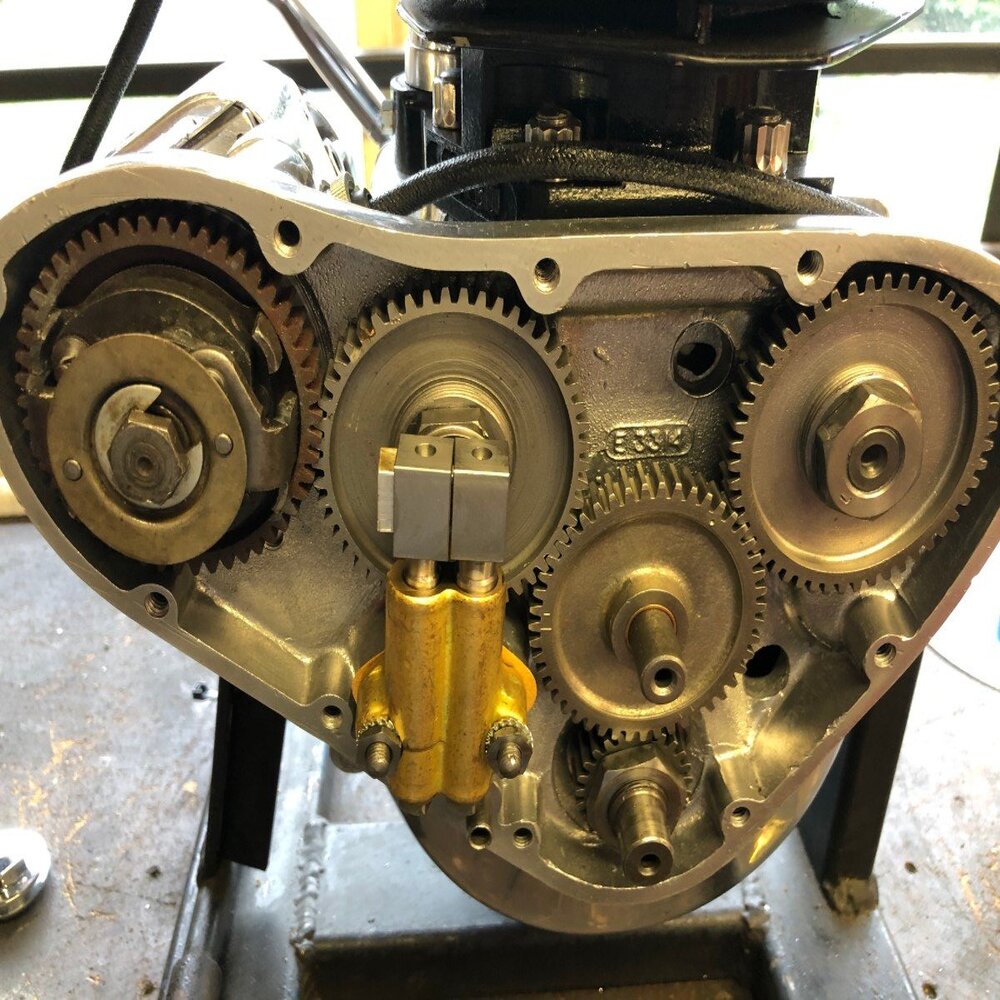
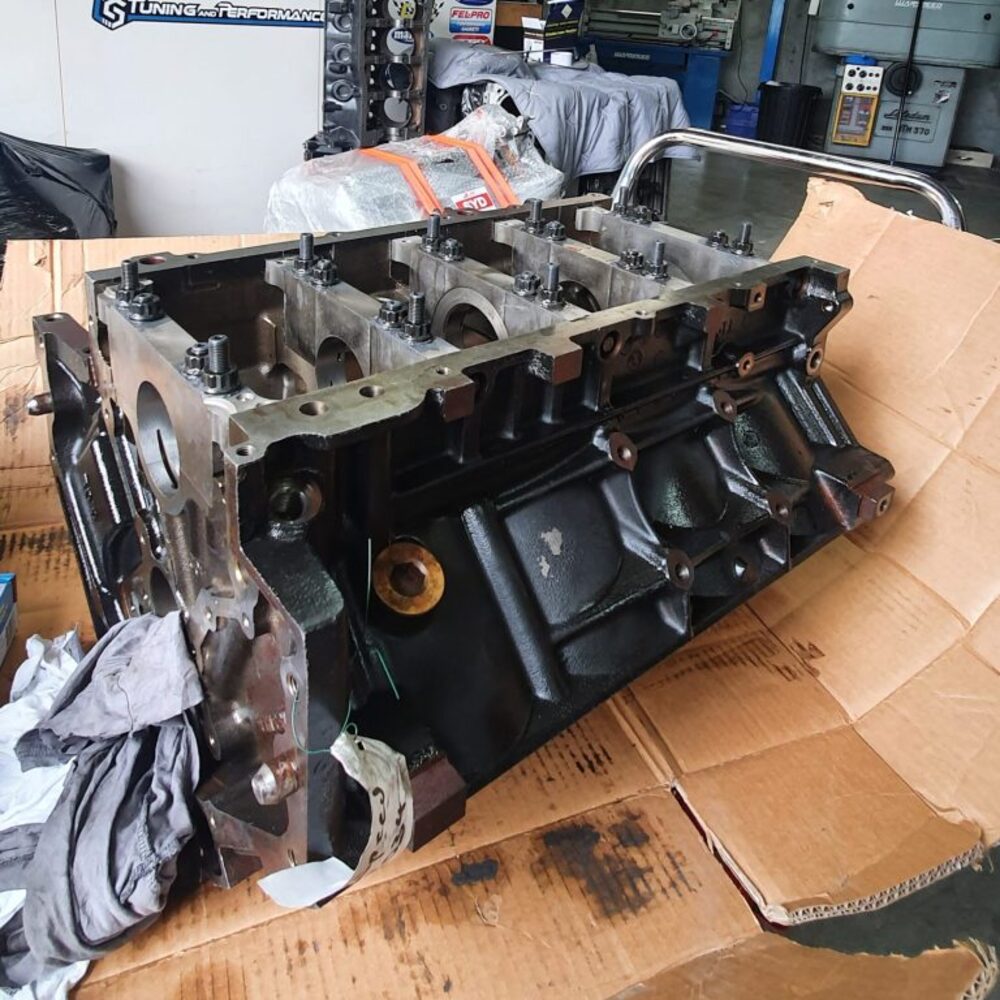
Cleaning and Inspection: A Fresh Start for Your Engine
With the engine disassembled, it’s time for a thorough cleaning and inspection phase.
- Degrease and clean all engine components: Use degreaser and appropriate cleaning tools to remove grime, oil, and carbon buildup from all engine parts. Pay particular attention to the cylinder walls, piston tops, and crankcase.
- Inspect components for wear and damage: Carefully examine all engine components for signs of wear, cracks, or excessive scoring. Your service manual will provide specifications for acceptable wear tolerances. Replace any components that are beyond serviceable limits.
- Machine surfaces, if necessary: Depending on the extent of the damage and your desired outcome, machining of certain engine components like the cylinder block or crankshaft might be required. This is a specialized process best left to a qualified machine shop.
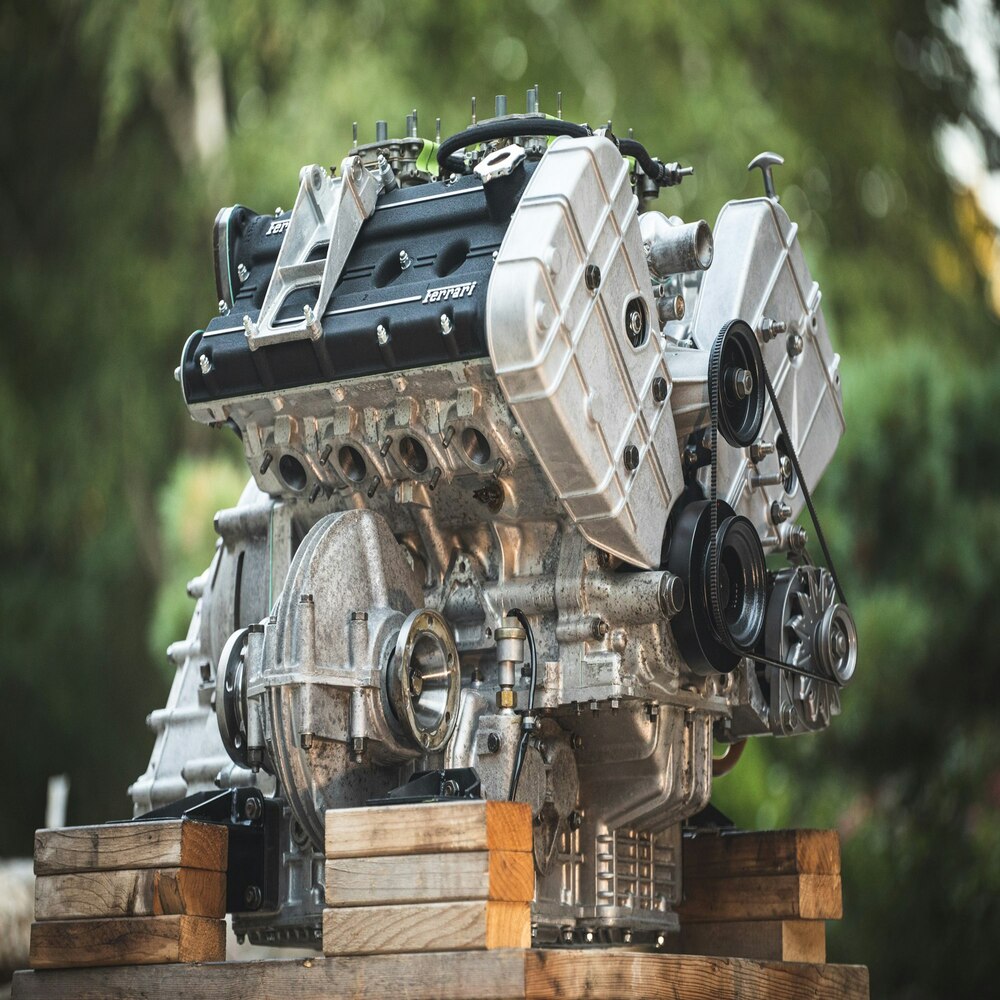
Rebuilding the Engine: Putting it Back Together
Once the cleaning and inspection are complete, it’s time for the exciting part: reassembling the engine. Here’s a general overview:
- Reassemble the bottom end: If the crankshaft was removed, carefully reinstall it following the service manual’s instructions. This might involve replacing bearings and seals. Then, reassemble the pistons and connecting rods, ensuring proper ring orientation and gap measurements.
- Cylinder head rebuild: The cylinder head rebuild might involve replacing valves, valve guides, and valve springs depending on the inspection results. After reassembly, consult your service manual for proper valve lash adjustment procedures.
- Engine block and head assembly: Carefully position the cylinder head onto the engine block and tighten the head bolts following the specified sequence and torque specifications outlined in your service manual.
- Reattach external components: Reinstall all the external components you removed earlier, such as the intake and exhaust manifolds, alternator, starter motor, and accessory drives.
- Connect wiring and hoses: Reconnect all electrical wiring, hoses, and vacuum lines you disconnected during disassembly, double-checking everything is reconnected correctly and securely.
Throughout the reassembly process, refer to your service manual religiously for proper torque specifications and assembly procedures. Following these guidelines ensures a safe and functional engine rebuild.
The Final Steps: Installation and Bringing Your Engine to Life
With the engine rebuilt and reassembled, it’s time to reinstall it back into your vehicle. The installation process essentially involves reversing the steps you took during removal.
- Reinstall the engine in the vehicle: Carefully position the engine back into the engine bay using the engine hoist. Secure the engine mounts and reconnect all drivetrain components.
- Fill fluids and connect battery: Refill the engine with clean oil, coolant, and any other fluids following the recommended capacities in your owner’s manual. Reconnect the battery terminals.
- Before starting the engine: Perform a final check to ensure all fluids are topped up, there are no leaks, and all electrical connections are secure. Rotate the engine crankshaft by hand a few times to ensure there are no binding components.
- Start the engine and check for leaks: If everything appears correct, crank the engine and listen for any unusual noises. Check for any leaks around the engine block, hoses, or connections.
Congratulations! You’ve Rebuilt Your Engine
Rebuilding an engine is a complex yet rewarding accomplishment. By following these steps and referencing your service manual, you’ve given your engine a new lease on life. Remember, taking your time, being meticulous, and prioritizing safety are paramount throughout this process.
Fuel Your Next Adventure: Invest in Quality Engine Rebuild Kits and Tools
Ready to tackle that engine rebuild project in 2024? Having the right tools and equipment is half the battle. Invest in high-quality engine rebuild kits containing essential components like pistons, rings, bearings, and gaskets specific to your vehicle’s engine. Don’t forget to equip yourself with the necessary tools like engine hoists, stands, and specialty tools for a smooth and successful rebuild experience. Browse our extensive selection of engine rebuild kits and tools to find everything you need to get started on your next automotive adventure!
By engaging with these elements, individuals can confidently rebuild their engines, restoring performance and extending the life of their vehicles. Therefore, whether you are an experienced mechanic or a DIY enthusiast, understanding the engine rebuild process offers practical and valuable insights. Embrace the opportunity to rejuvenate your engine, knowing you have the knowledge and resources to achieve a successful rebuild!